Miniature No-Bake Pumpkin Pies
in Recipes
Because I have a November birthday, I’ve always had the most perfect reason to ask for a pumpkin pie for my birthday instead of a sugary sweet cake. Really, I’ve never been a cake girl. After I requested my desert of choice my mom would whip up a simple homemade pumpkin pie, spiced to perfection with the softest and silkiest texture, and top it with brightly colored and sparkling candles for the big day.
After a birthday dinner and a round of dishes, my brothers and I would arm ourselves with a can of whipped cream, ready to completely cover the slice of pie that would be passed out to us. Once the very out-of-tune birthday singing was over my mom would artfully slice and distribute the pie while the can of whipped cream was gleefully passed around.
Between the five of us and that pie, we could easily polish off a can in one sitting.
Impressed?
Whipped cream aside, the second best part of having a birthday in November was that pumpkin pie would be had twice in one month. Oh pumpkin goodness. With a birthday and Thanksgiving a few weeks later, November was the month of the pie.
Pumpkin pie, of course. Velvety, smooth, spicy, sweet, glorious pumpkin pie. Yum.
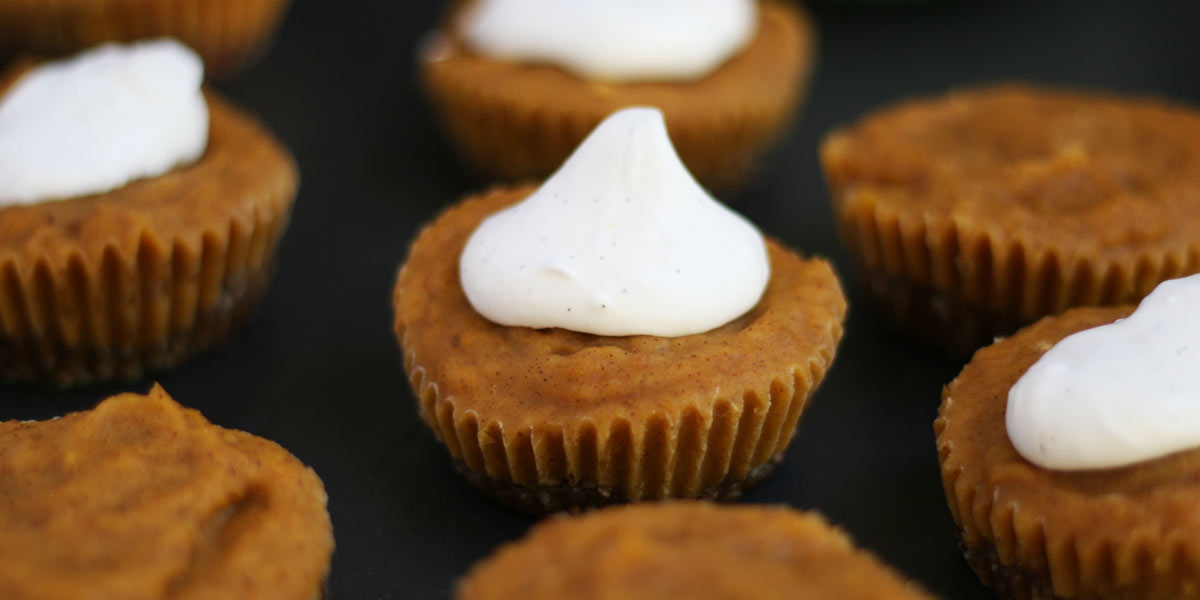
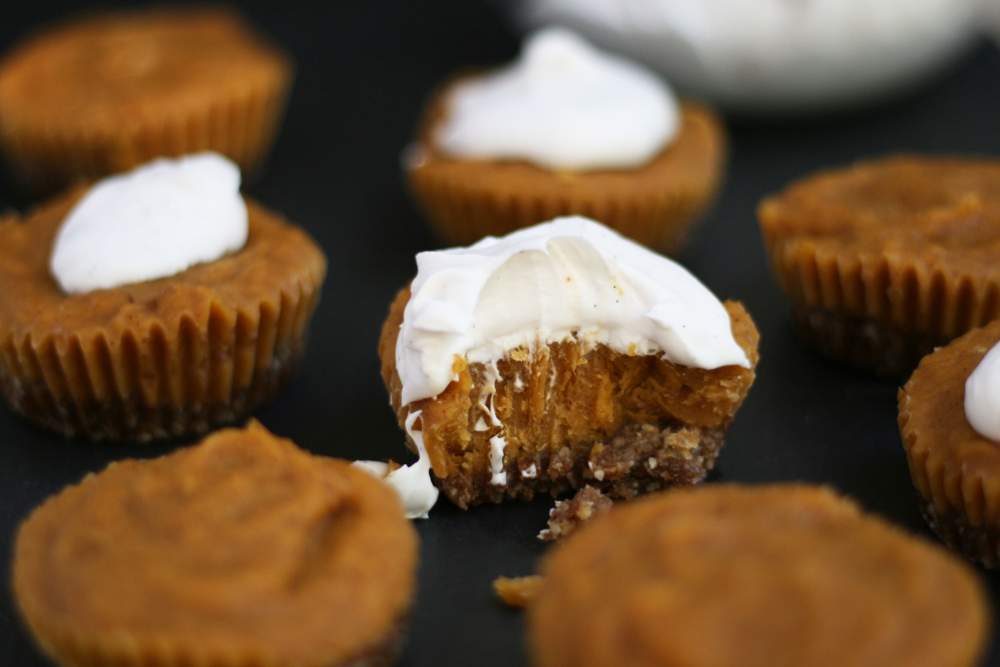
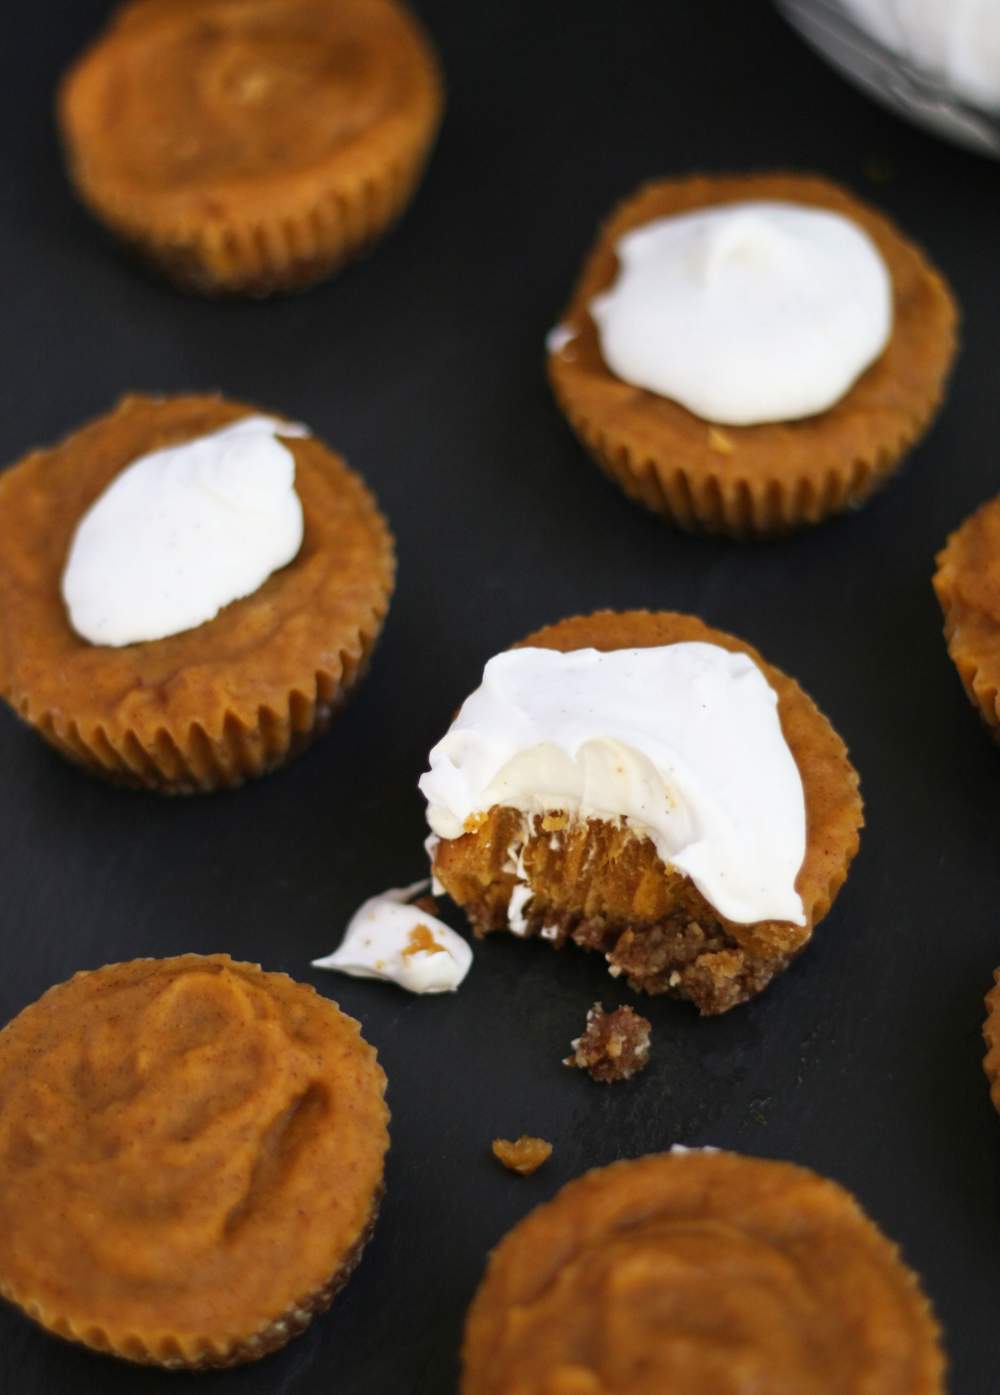
These pumpkin pies are mini, because, well, I like miniature things. They’re ideal if you are one of those people who have no pie allegiance on Thanksgiving and sample all the flavors – pecan, apple, and pumpkin. If that’s the case, then having a small pumpkin pie is much better than a heaping slice to go with your other two.
They are also great for experimenting with family members who may be turned off by the idea of a healthy pumpkin pie. Although these mini pies are packed with health goodness, they in no way taste healthy or even raw, or vegan. That’s why letting everyone sample a little pie will give you tons of satisfaction while possibly converting some of the health haters.

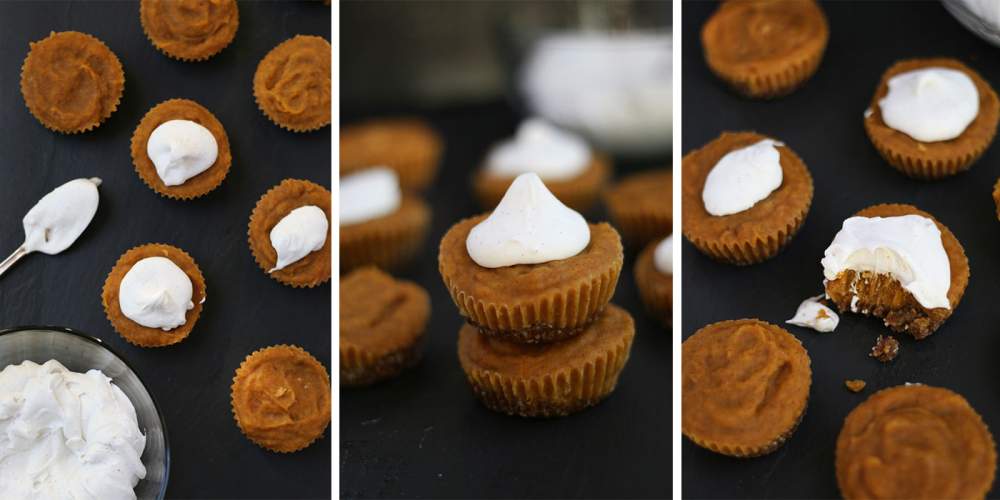
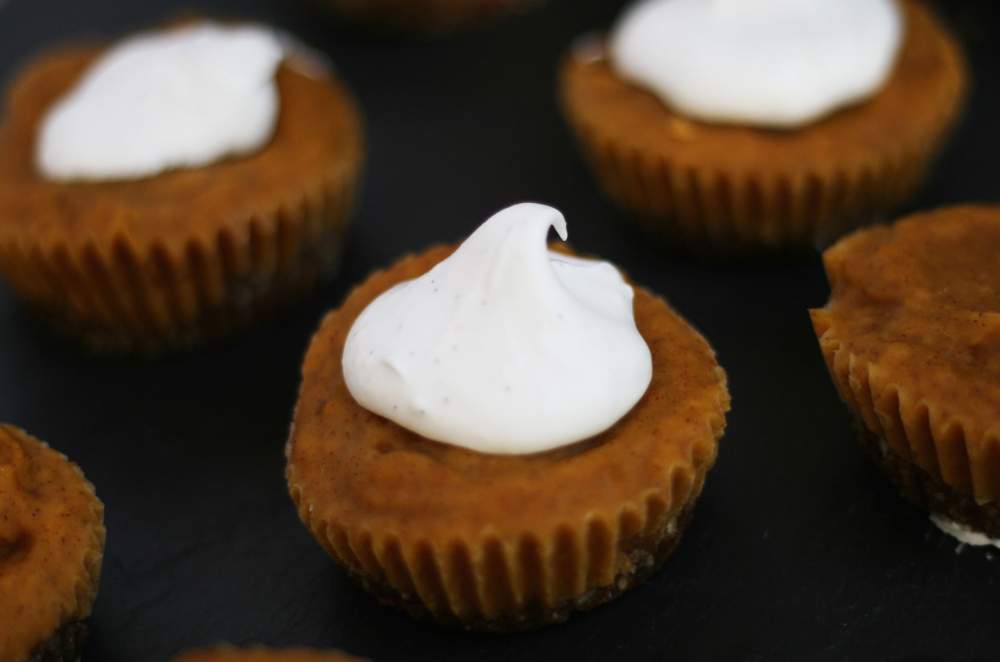
Of course, this Maple & Vanilla Coconut whipped cream is the very necessary extra topping on your little pie. Top your pie with a dollop, a smear, or a heaping scoop of this whipped cream – or just take a spoon to the bowl! Although it may not be as fun as squirting whipped cream out of a can, it still delivers on the creamy factor, and tastes amazing too. Really, this coconut whipped cream is one of the dreamiest and easiest things you could ever make. (and put on your pie!)
I’ve never grown out of the pumpkin pie and whipped cream combination. Truth be told, I never, ever will.
Miniature No-Bake Pumpkin Pies
Makes 12 Mini Pies
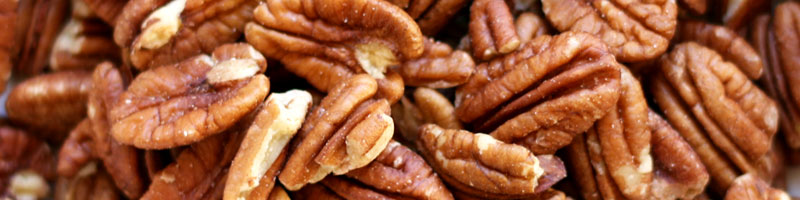
Pecan Crust
1 cup pecans
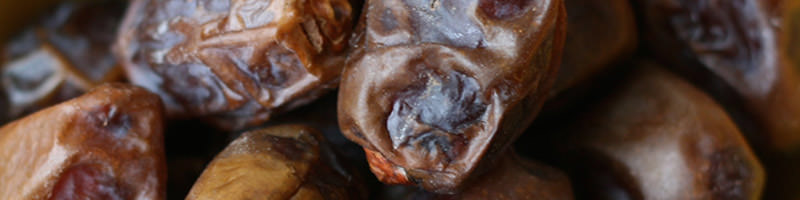
1 cup medjool dates, pits removed
½ tsp pumpkin pie spice
pinch of sea salt
Pumpkin Pie Filling
1 ½ cup pumpkin puree
5 medjool dates, pits removed
4 T maple syrup
1 big T pumpkin pie spice
¼ cup unsweetened almond milk
1 tsp arrowroot powder
pinch of sea salt
Maple & Vanilla Coconut Whipped Cream *
1 can full fat coconut milk, chilled overnight
1 vanilla bean, pods scraped
2 tsp maple syrup
Line a standard muffin with 12 paper liners and set aside.
Begin with the pecan crust. In a food processor add pecans, dates, pumpkin pie spice, and a pinch of sea salt. Pulse until mixture becomes incorporated and a bit sticky. Scoop out a heaping tablespoon of pecan date mixture and press into the bottom of the muffin liners. Evenly distribute the pecan mixture until all the cups are lined. Place muffin tin in the refrigerator to set while your prepare the pumpkin filling.
In a blender or food processor add in the ingredients for the pumpkin pie filling. Blend until mixture becomes smooth and creamy, pausing to scrape down the sides of the blender every now and then.
Scoop a heaping tablespoon or two of pumpkin pie filling into the lined muffin cups and use the back of a spoon or spatula to even the top.
Place mini pumpkin pies in the refrigerator to set, about 4-5 hours. You can even keep them in the freezer for 2-3 hours, and let them thaw out in the refrigerator for an hour.
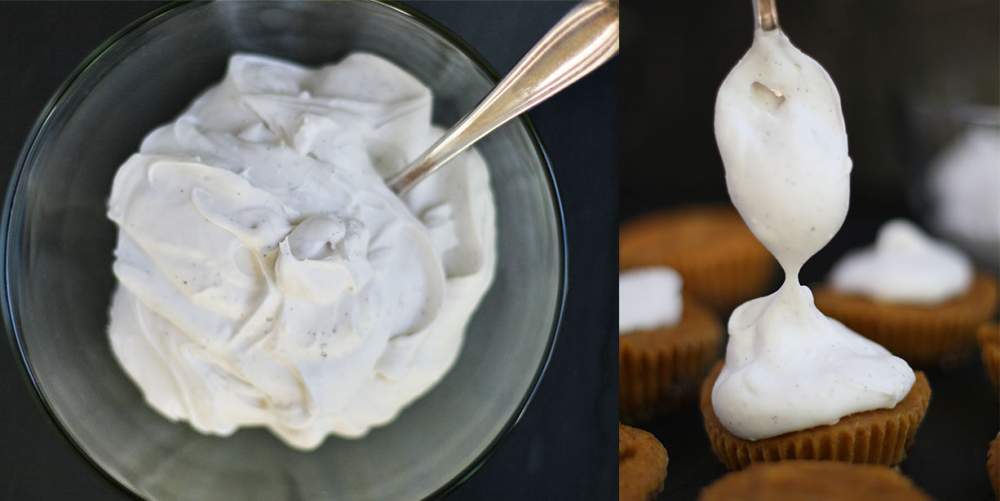
When you’re ready to eat, prepare the coconut whipped cream. Remove your chilled can (*that was chilled overnight!) of coconut milk and flip the can over. Use a can opener to open the upside down can, and then pour the liquid into a glass. You can use this liquid for smoothies if you’d like!
Scoop out the hardened cream and place into a large bowl. Use a beater to beat coconut until it begins to resemble whipped cream, which should take around 30 seconds. Add in scraped vanilla bean seeds and maple syrup and whip to blend together. Serve whipped cream with pie and enjoy!
The whipped cream will keep in an airtight container in the refrigerator for about a week while the pies will last around 10. If your whipped cream firms up a bit, just re-whip it before serving!
*If you’re making coconut whipped cream, place your can of coconut milk in the refrigerator the night before!!
They look so cute! I think you have a point- maybe mini-pie is the way forward. Then dessert can be “pie selection” or “trio of pies”…! Loving the pecan crust too :)
These were amazing! The whipped cream itself was, well it took a lot for me to not eat the whole bowl! :0). Just one question, I used freshly roasted pumpkin and my pies did not set as much as I think they should. Should I use more of the arrowroot powder? Thanks! Can hardly wait to see what you create for Christams!
Hi Judie – thank you so much! I’m so pleased you liked them. The coconut whipped cream is divine – i too had to hold myself back from licking the entire bowl. When I used freshly roasted pumpkin, mine were also a bit squishier. I suggest adding in more arrowroot powder next time to create a firmer texture. Or place them in the freezer and let them chill out an hour before serving!
Thanks Kate! I will do just that.